To put WWOB to action, you need to create a product.
1. Go to: Products > Add Product. A familiar WooCommerce interface for product creation appears.
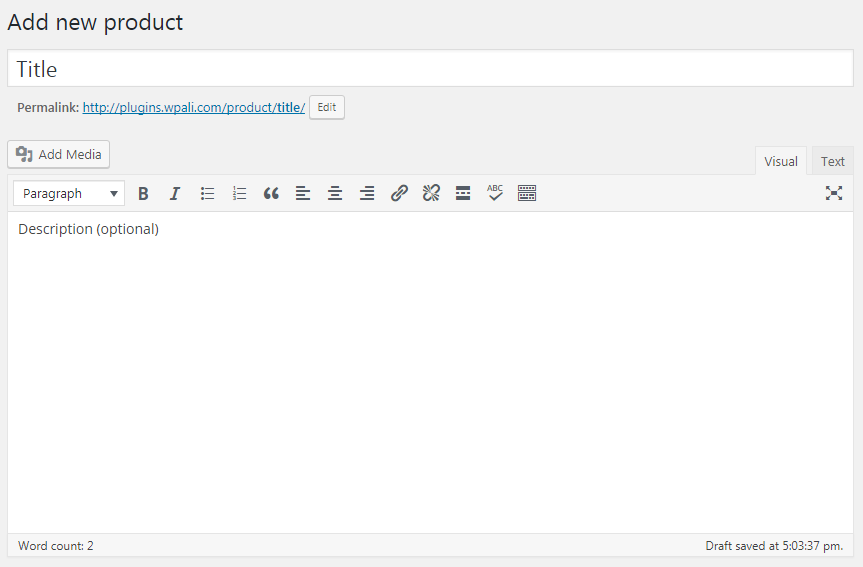
2. Enter a title and description for your product.
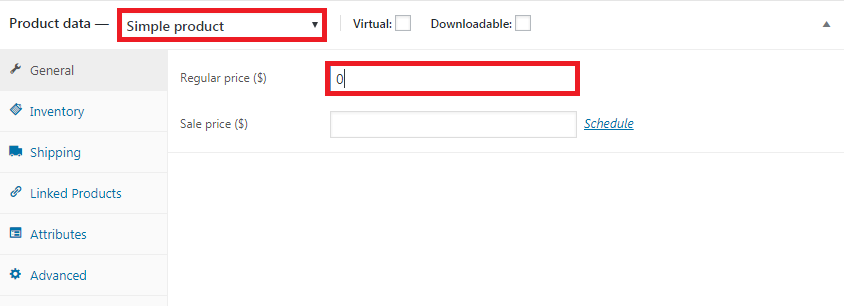
3. You should have “Simple Product” selected by default from Product Data dropdown menu. Now, unless you have a reason to set base price, enter the value 0 in Regular price field to allow WWOB’s dynamic pricing.
(If you make regular price more than 0, the price you entered will be added to each order, this is helpful if you have a static price with specific number of item included, in this case you can define your price here, and set items price later to 0)
4. Scroll to “WPAli: Woocommerce Order Builder” metabox, check Yes from Enable Order Builder option to to enable the builder for this product.

5. In the product row, give your item a name in label field. After that, you can start adding sub-items to this product using the repeatable field labeled sub-items, and the plus button below it.
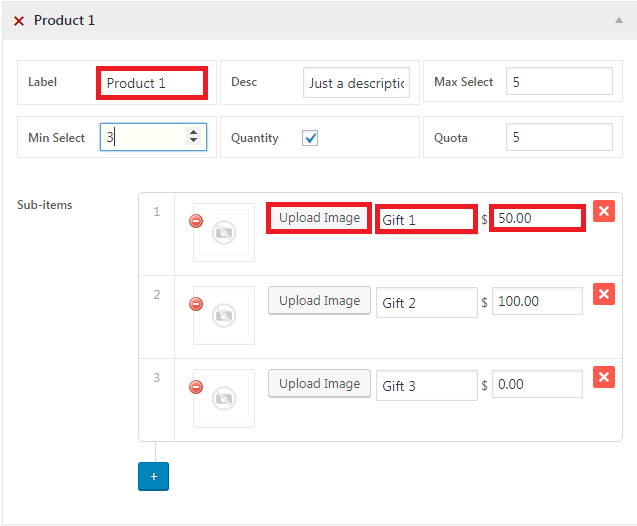
Note: Only label, and sub-items fields are required to create a product, the rest are optional .
6. After you finish adding the sub-items, click publish.
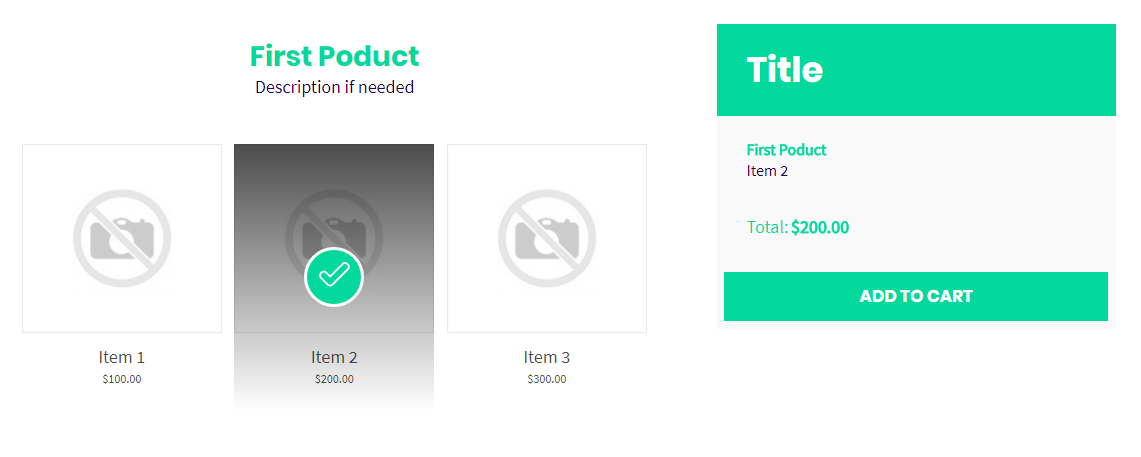
The result should be the similar to this (One section with a title, items, and a price calculator on the right):
That’s it, wasn’t hard, was it?.
More Options:
Min and max select fields are optional, you can leave them empty or use per the following:
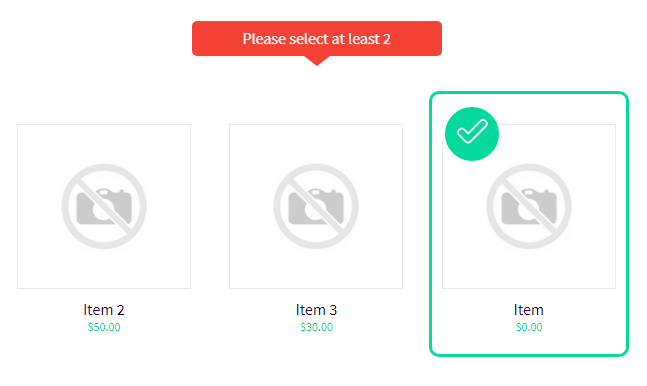
Min select: The minimum number of items that the customer have to select per product before being able to add to cart. Here is an example where min select is set to value (2) after user clicked add to cart button:
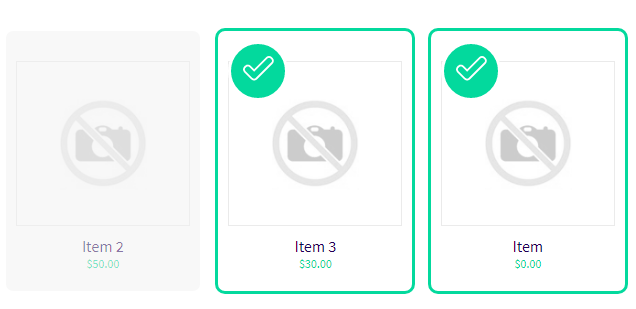
Max select: The maximum number of items that the customer can select per product (leave empty to set to unlimited). Here is an example where max select is set to value (2):
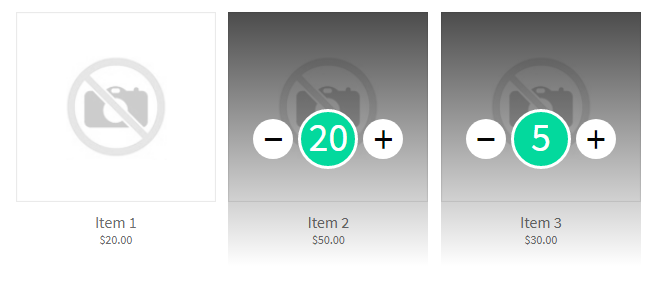
Quantity: by checking this you’ll enable customer to choose quantity/number of each sub-item in his order
Quota: This field allows you to set the quantity limit for sub-items.
You may add as many sections as you want using the button Add Product in “Products Details” metabox and applying the same steps in point number 5 above.

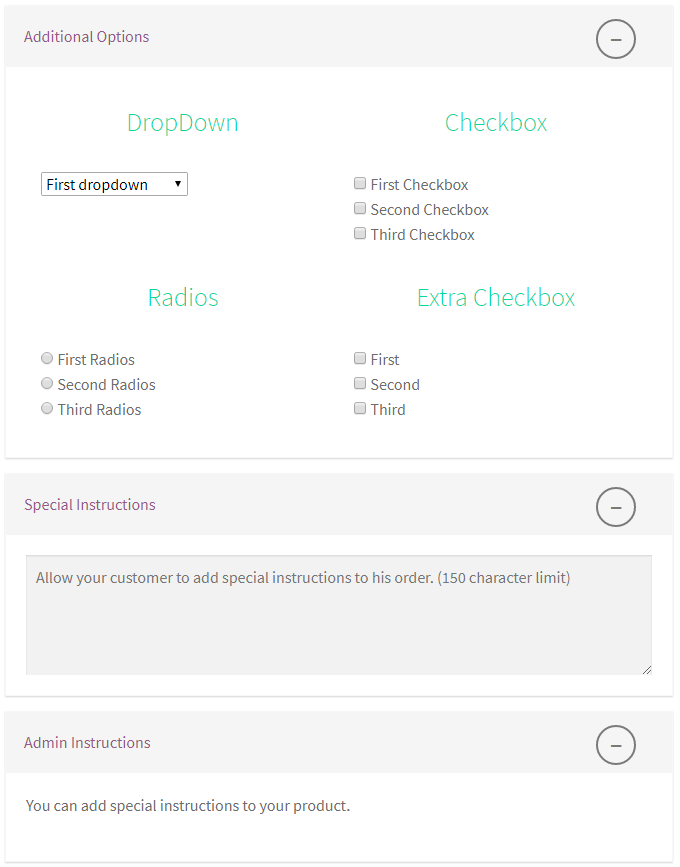
There are additional features in the Extra Options tab within “WPAli: Woocommerce Order Builder” metabox that you can use optionally to add different options, checkboxes, select boxes, radio buttons, and instruction fields, to your product.
